How to make Champagne and Sparkling Wines at Home
Champagne, Cava and Prosecco can be pretty expensive, so you might want to have a go at making sparkling wine at home. There are some cheaper options in the supermarkets, but if you want to try making your own champagne, how do you do it? How do you get those bubbles!Although I’m calling it Champagne, anything we make at home can’t really be called Champagne as it has to be made in the Champagne region of France! We have to call it sparkling wine, Champagne, Cava & Prosecco are all sparkling wines, but not all sparkling wines are Champagne, Cava or Prosecco!
So how do you make a sparkling wine at home that resembles champagne?
It’s pretty easy actually, although there are a few more processes than just making a bottle of still wine. It needs patience too as it takes time to make those bubbles.
Champagne is normally made from Chardonnay, Pinot Noir or Pinot Meunier grapes, or a mix of the 3.
You can use any Chardonnay wine kit as a base for making the champagne, which will give you a great result. But as with all wine kits, if you go for more expensive kit, you’ll get a better quality finished product.

If you want to experiment first, then just make the wine kit as normal, but save a few litres to turn into your own homemade champagne style sparking wine.
Do you have a soda stream? Have you tried fizzing up a white wine? If you haven’t, don’t bother trying. Not only does it taste awful (just fizz up some tap water and then compare it to the normal tap water), but it will make a hell of a mess. As soon as you unscrew the bottle, the gas escapes and all the wine erupts into a fizzy mess everywhere.
So, lets make a sparkling wine at home…
Lets use a decent wine kit – something like an On The House Chardonnay will do nicely.
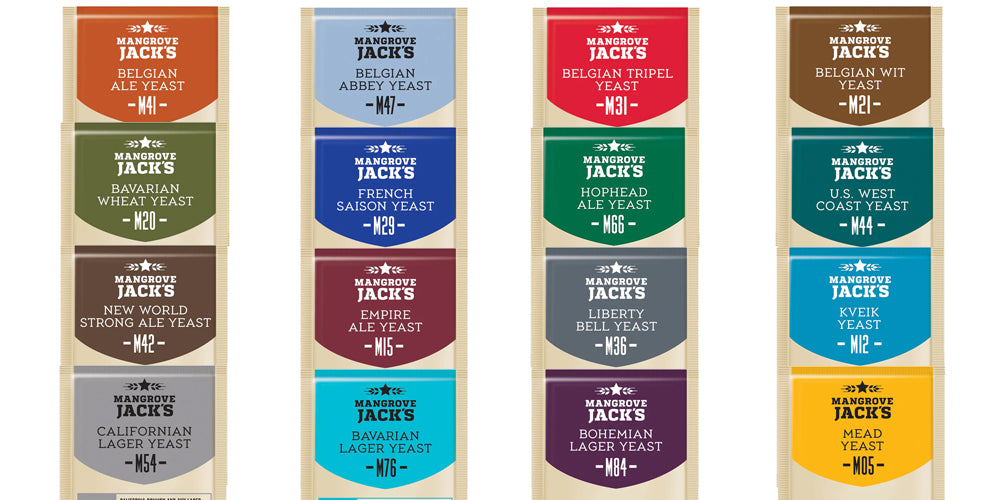
Follow the instructions up to the point where you add the yeast. Don’t use the yeast in the kit, instead, swap the yeast that comes with the Chardonnay wine kit to a champagne yeast, something like Lavin EC-1118. This will help give the dry crispness that is associated with champagne.
Ferment the kit as normal, but once the fermentation is complete this is where we break away from the kits instructions, so do not add the stabilisers or wine finings.
While it is fermenting, keep an eye on your neighbours recycling boxes and if you see some empty champagne, cava or prosecco bottles, ask if you can have them. Then take them home and give them a good clean and remove the labels.
You’ll need some extra equipment too, so buy some of these: -
Hollow plastic corks
Champagne Corks & Cages
Seal the lid of the fermenter and allow the wine to naturally clear for a few days and then siphon off the lees into a new fermenting vessel and pop on the lid.
Prepare and clean your champagne bottles. It has to be champagne, prosecco or cava bottles as they have to hold a lot of pressure. Normal wine bottles would just explode.
Siphon enough from the top of the fermenter to fill 1 bottle, cork and put this wine somewhere cool to clear. We’ll use this later to top up the bottles after we have disgorged them, but more on that later. Keep this bottle stood up the normal way. You’ll understand what I mean in a mo…
This won’t be fizzy, but we’ll use this to top up your sparkling wine later in the process.
Now back to the sparkling wine -
- For a 23 litre kit, add 300g-400g of brewing sugar to the wine in the fermenting vessel and gently stir until all the sugar is dissolved.
- If you are only making a few bottles then you should use between 10-13 grams per bottle.
Don’t be tempted to whisk it in, as getting air into the wine at this stage could mean you end up with 23 bottles of vinegar. Adding more than 400g, I have found this creates a sparkling wine with too much fizz that's difficult to pour, so I wouldn't go above 400 grams.
Also, as we are using quite a lot of sugar, I wouldn't recommend using granulated supermarket sugar, unless you prefer your sparkling wine to have a slight sweetness.
400g of sugar in 23 litres of wine will give a high carbonation with lots of tiny bubbles. If you want something a bit softer, then lower the sugar down to 300g.
Now bottle your wine and sugar mixture into your champagne bottles.

Use the plastic hollow corks to seal the bottles. You will need to use a wire cage to prevent the cork coming out. Pop the cage on top and twist the wire until it clamps around the neck of the bottle.
Now, this bit may seem a bit weird, but you are going to turn the bottles upside down, then put them in a warm place(18°-22°C) for 2 weeks to allow the secondary fermentation to take place. You may want to put the box in a plastic tray, just in case a cork manages to pop out.
Now transfer your bottles to somewhere cool, still upside down. Now we will use a technique that has been used for hundreds of years to clear the champagne and then remove the yeast without loosing the bubbles. This is called champagning.
Give the bottles a quick sharp twist daily so that they turn 90-180°. This allows the yeast to settle in the hollow cork. You may have to repeat this process every day for 4-6 weeks or even longer until the sparkling wine is perfectly clear. Once clear, leave for 2 weeks untouched for the sediment to cement together.
Once the champagne is fully clear, you’ll need to prepare a salt ice bath by dissolving 500g salt in 2 litres of water. I use a tall plastic ice cream tub with a lid, but a 5 litre plastic bucket will work perfectly.

Put the salt bath in the freezer to freeze for at least 48 hours. This will take the temperature down to about -18°C and the salt stops it freezing solid. You may see some salt crystals in the bottom, this is normal.
Whilst the salt bath is freezing, put 3-4 bottles in the fridge (still upside down) to chill down. Be careful not to disturb the sediment in the cork.

Take the salt bath from the freezer and the bottles from the fridge.
Put the necks of the bottles into the salt bath and leave for 10-12 minutes. The wine in the neck of the bottle will freeze solid.
Take out a bottle. Check the wine in the neck is frozen solid – you’ll see the ice in the neck, but the main body of the bottle will still be liquid. You’ll have to trust me now, this will work! But we need to work fast...

Turn the bottle up the right way, now be careful!
Wear safety goggles and do not put your head over the bottle! Make sure there is nothing breakable directly above the bottle. Oh, best to do this in the sink, or better the garage, or better outside.
Remove the cage. The cork will likely shoot out on its own and take the sediment with it. If not, wiggle it out. All the sediment will be in the hollow of the cork, however there might be some left in the ice in the neck, so gently remove any further sediment that may be in the neck bottle with a small spoon or something similar. Try not to disturb the ice block.

This is where the non fizzy bottle comes in that we put to one side earlier. Use that to top up the space in the neck leaving enough space for the champagne cork.

Now cork straight away with a champagne cork and fit a cage, twisting the wire like last time to secure it to the neck of the bottle.
You will loose a little fizz, but that's why we used so much sugar to get so much fizz and that means there will be plenty of bubbles left.

You can usually freeze 4-6 bottle necks at a time using this method before the salt water has warmed up too much. So put it back in the freezer to freeze back down. I've been using the same Ice bath for a few years, just topping up with water every now and then. If you can no longer see ice crystals in the bottom of your salt water bath, then add another 50g of salt so you reach the salt saturation point. This will mean that in a normal freezer, it won't turn into a solid block of salty ice.
All you have to do now is make a fancy bottle label, lie it down and leave it for 3 months to condition in the bottles.
Then chill down a bottle – oh you can keep the bottles the right way now :o)
Pop it open and enjoy the bubbles!
Cheers & happy brewing.