
We all want our bottles of wine to look professional, especially if we are giving them away or having someone around for a drink, so the first thing we do is add a label. Beautiful.
But there is that ugly cream coloured cork staring us in the face, so how do we hide it? Well we use what the professionals use, a coloured cap.

This cap hides the cork, helps protect the cork, helps prevent a cork from popping out and helps keep it moist, which helps prevent an infection.
Browse our range of Shrink Caps that we have for sale at Brewbitz
The caps aren't just there to look pretty, but they do make a bottle of wine look more professional. The shrink caps come in a few different colours and are all the same size.
The shrink caps fit loosely over the top of the bottle and you then add heat to shrink the caps into place.
There are a few ways to shrink caps onto a bottles, so here is a quick guide on how to shrink them into place...
Method 1 - Steaming Kettle / Steamer
If you have a steamer, this work great, but if not you can use the steam from a boiling kettle.
We've made a video on how to steam a shrink cap on our youtube channel.
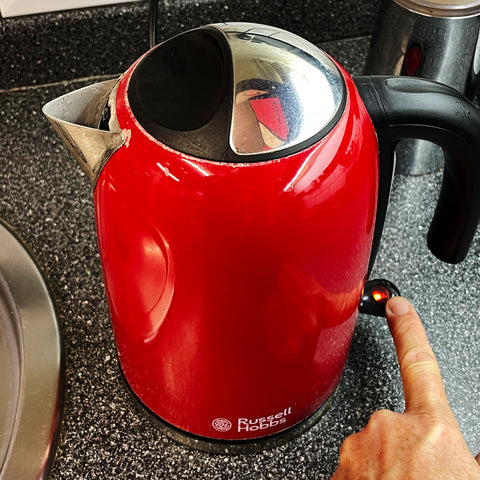
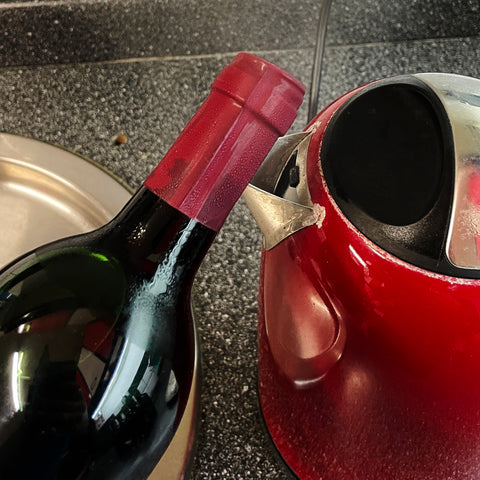
Modern day kettles have an automatic switch off when it reaches the boil, so we need to override that. You can open the lid or your can put something heavy on the switch to stop it turning off
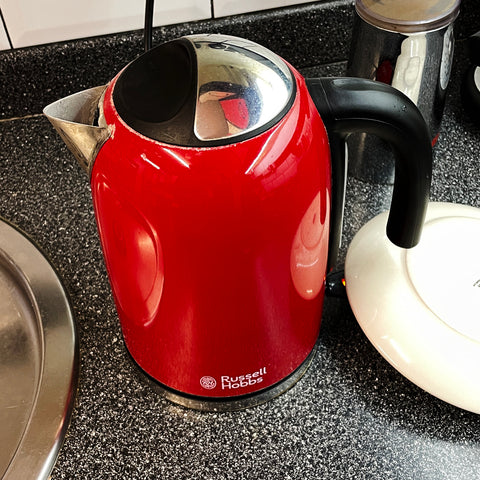
Here I've just used a small plate to rest on the switch and this stops it from switching off.
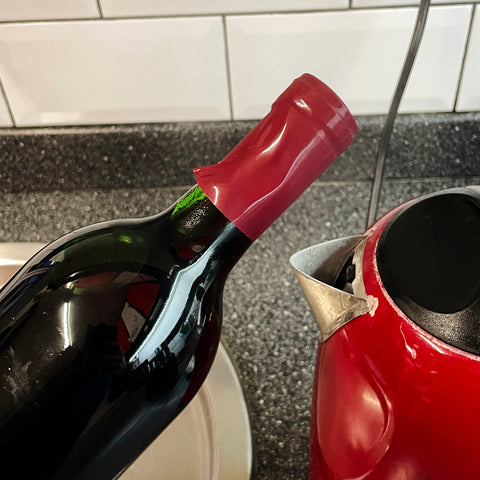
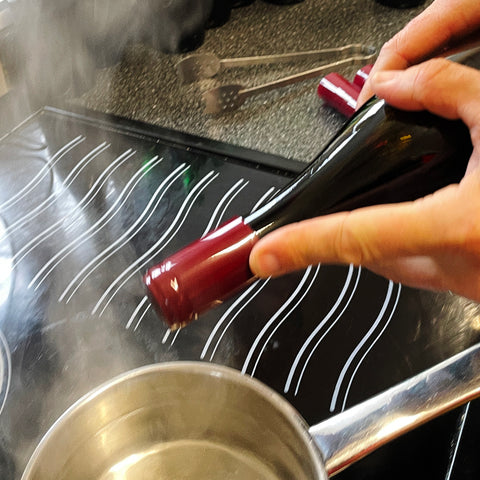
Put the tip of the bottle with the shrink cap on into the stream of steam, the shrink cap will shrink instantly.
Rotate the bottle so all the shrink cap gets shrunk by the steam.

Now wipe off any excess steam and that's it.
Easy!
Method 2 - Boiling Water
Put a small pan on the hob with some water and bring to the boil. The water needs to be quite deep as the hole shrink cap needs to be dunked, so at least 3 inches (8cm).
Hold the shrink cap at the bottom, otherwise it will slip off as we dip it into the water.
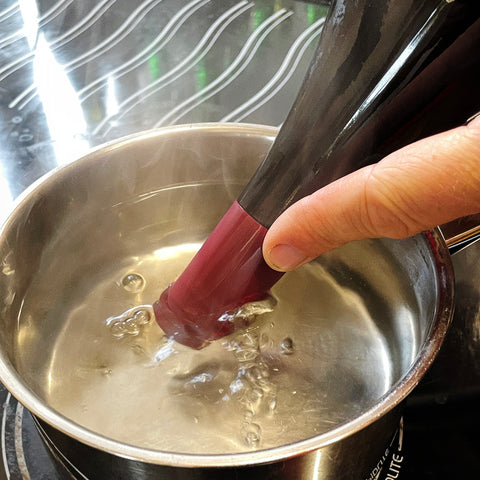
Dip just the tip in first so that it shrinks around the band. Now it's safe to remove your finger as it won't slip off.
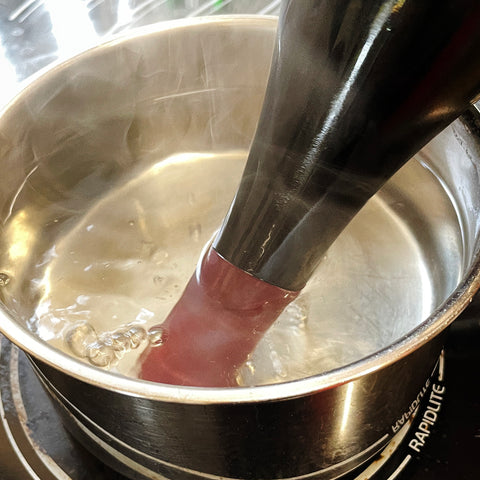
Now you can dunk the rest of the shrink cap to seal it to the bottle.
Wipe off any excess water, and that's it. they are shrunk to the bottle.
Method 3 - Hot Air Gun
If you are a keen decorator and have a hot air gun for stripping paint, then you have the perfect tool.
A hair dryer on really hot will do it too, but you might find you trip the overheat function if you use it on max heat for too long.
Pop the shrink caps on your bottles after you have corked them. You can do a lot quite quickly with the hot air gun / paint stripper gun.
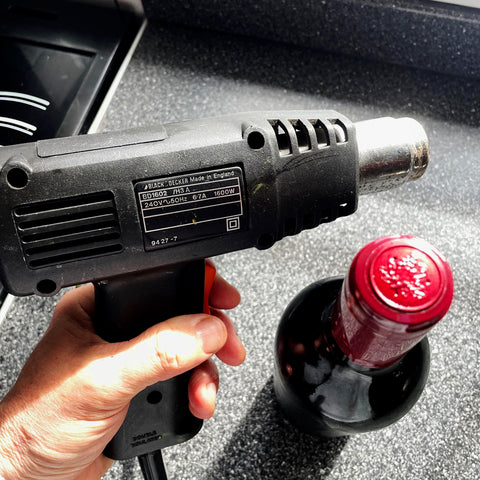
Plug in your hot air gun and give it a quick blast to get it up to temperature.

Start by holding your hot air gun above the shrink cap and turn it on. This will blow the shrink cap down on the bottle and start the shrinking process. This will hold the shrink cap in place.
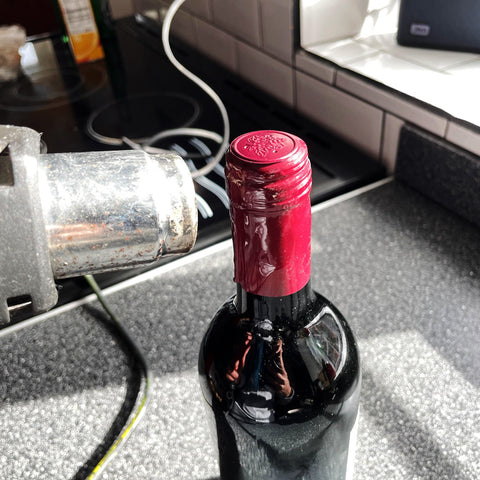
Once the top has started to shrink, move down to the side where there is a thicker band of glass (this is actually there to strengthen the bottle neck so it does not shatter under the pressure of the cork, which is why you should not cork screw top bottles) and turn the bottle as you apply heat. Not too much or for too long. once it has shrunk, it will not shrink any more. Shrinking the shrink cap around the band also helps prevent the cap from coming off.
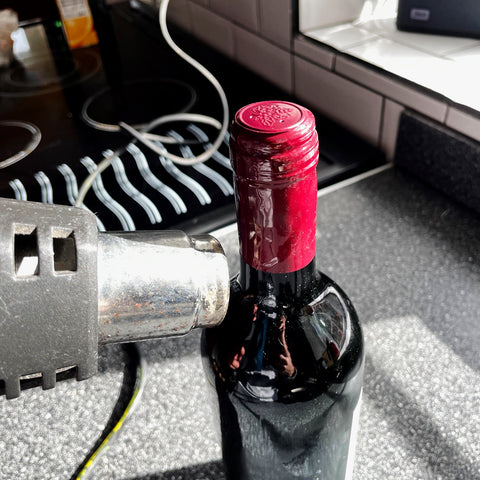
Now finish shrinking the rest of the cap to the bottles neck. turning the bottle and paying particular attention to any creases.
Remember not to apply too much heat, we aren't wanting to cook the wine. Just enough heat to shrink the cap.
And that's it. You can shrink lots of caps in just a few minutes and you don't have lots of condensation on the walls from a steaming kettle.
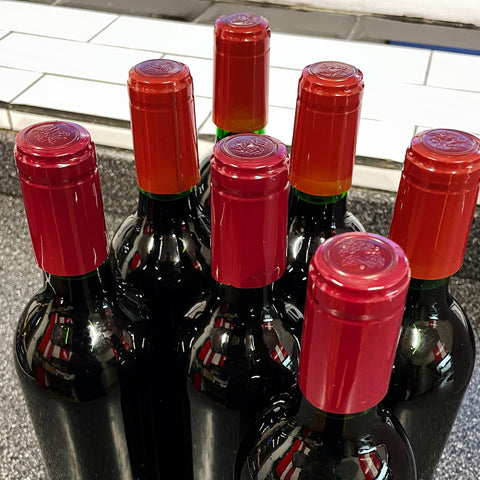
Finished Bottles with Shrink Caps and Labels
So there are 3 easy methods for shrinking shrink caps to your wine bottles. Choose which is best or easiest for you.
You can now add your label and finish the bottles, then store them as you normally do.
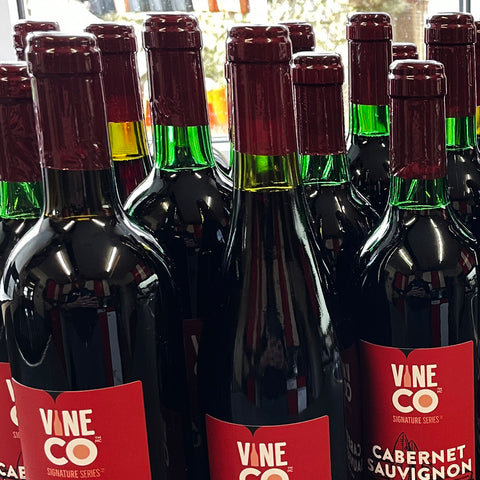
Don't they look great!
Cheers and happy brewing.